
DIY Tips for Surface Treatment Preparation


Understanding Surface Treatment Preparation
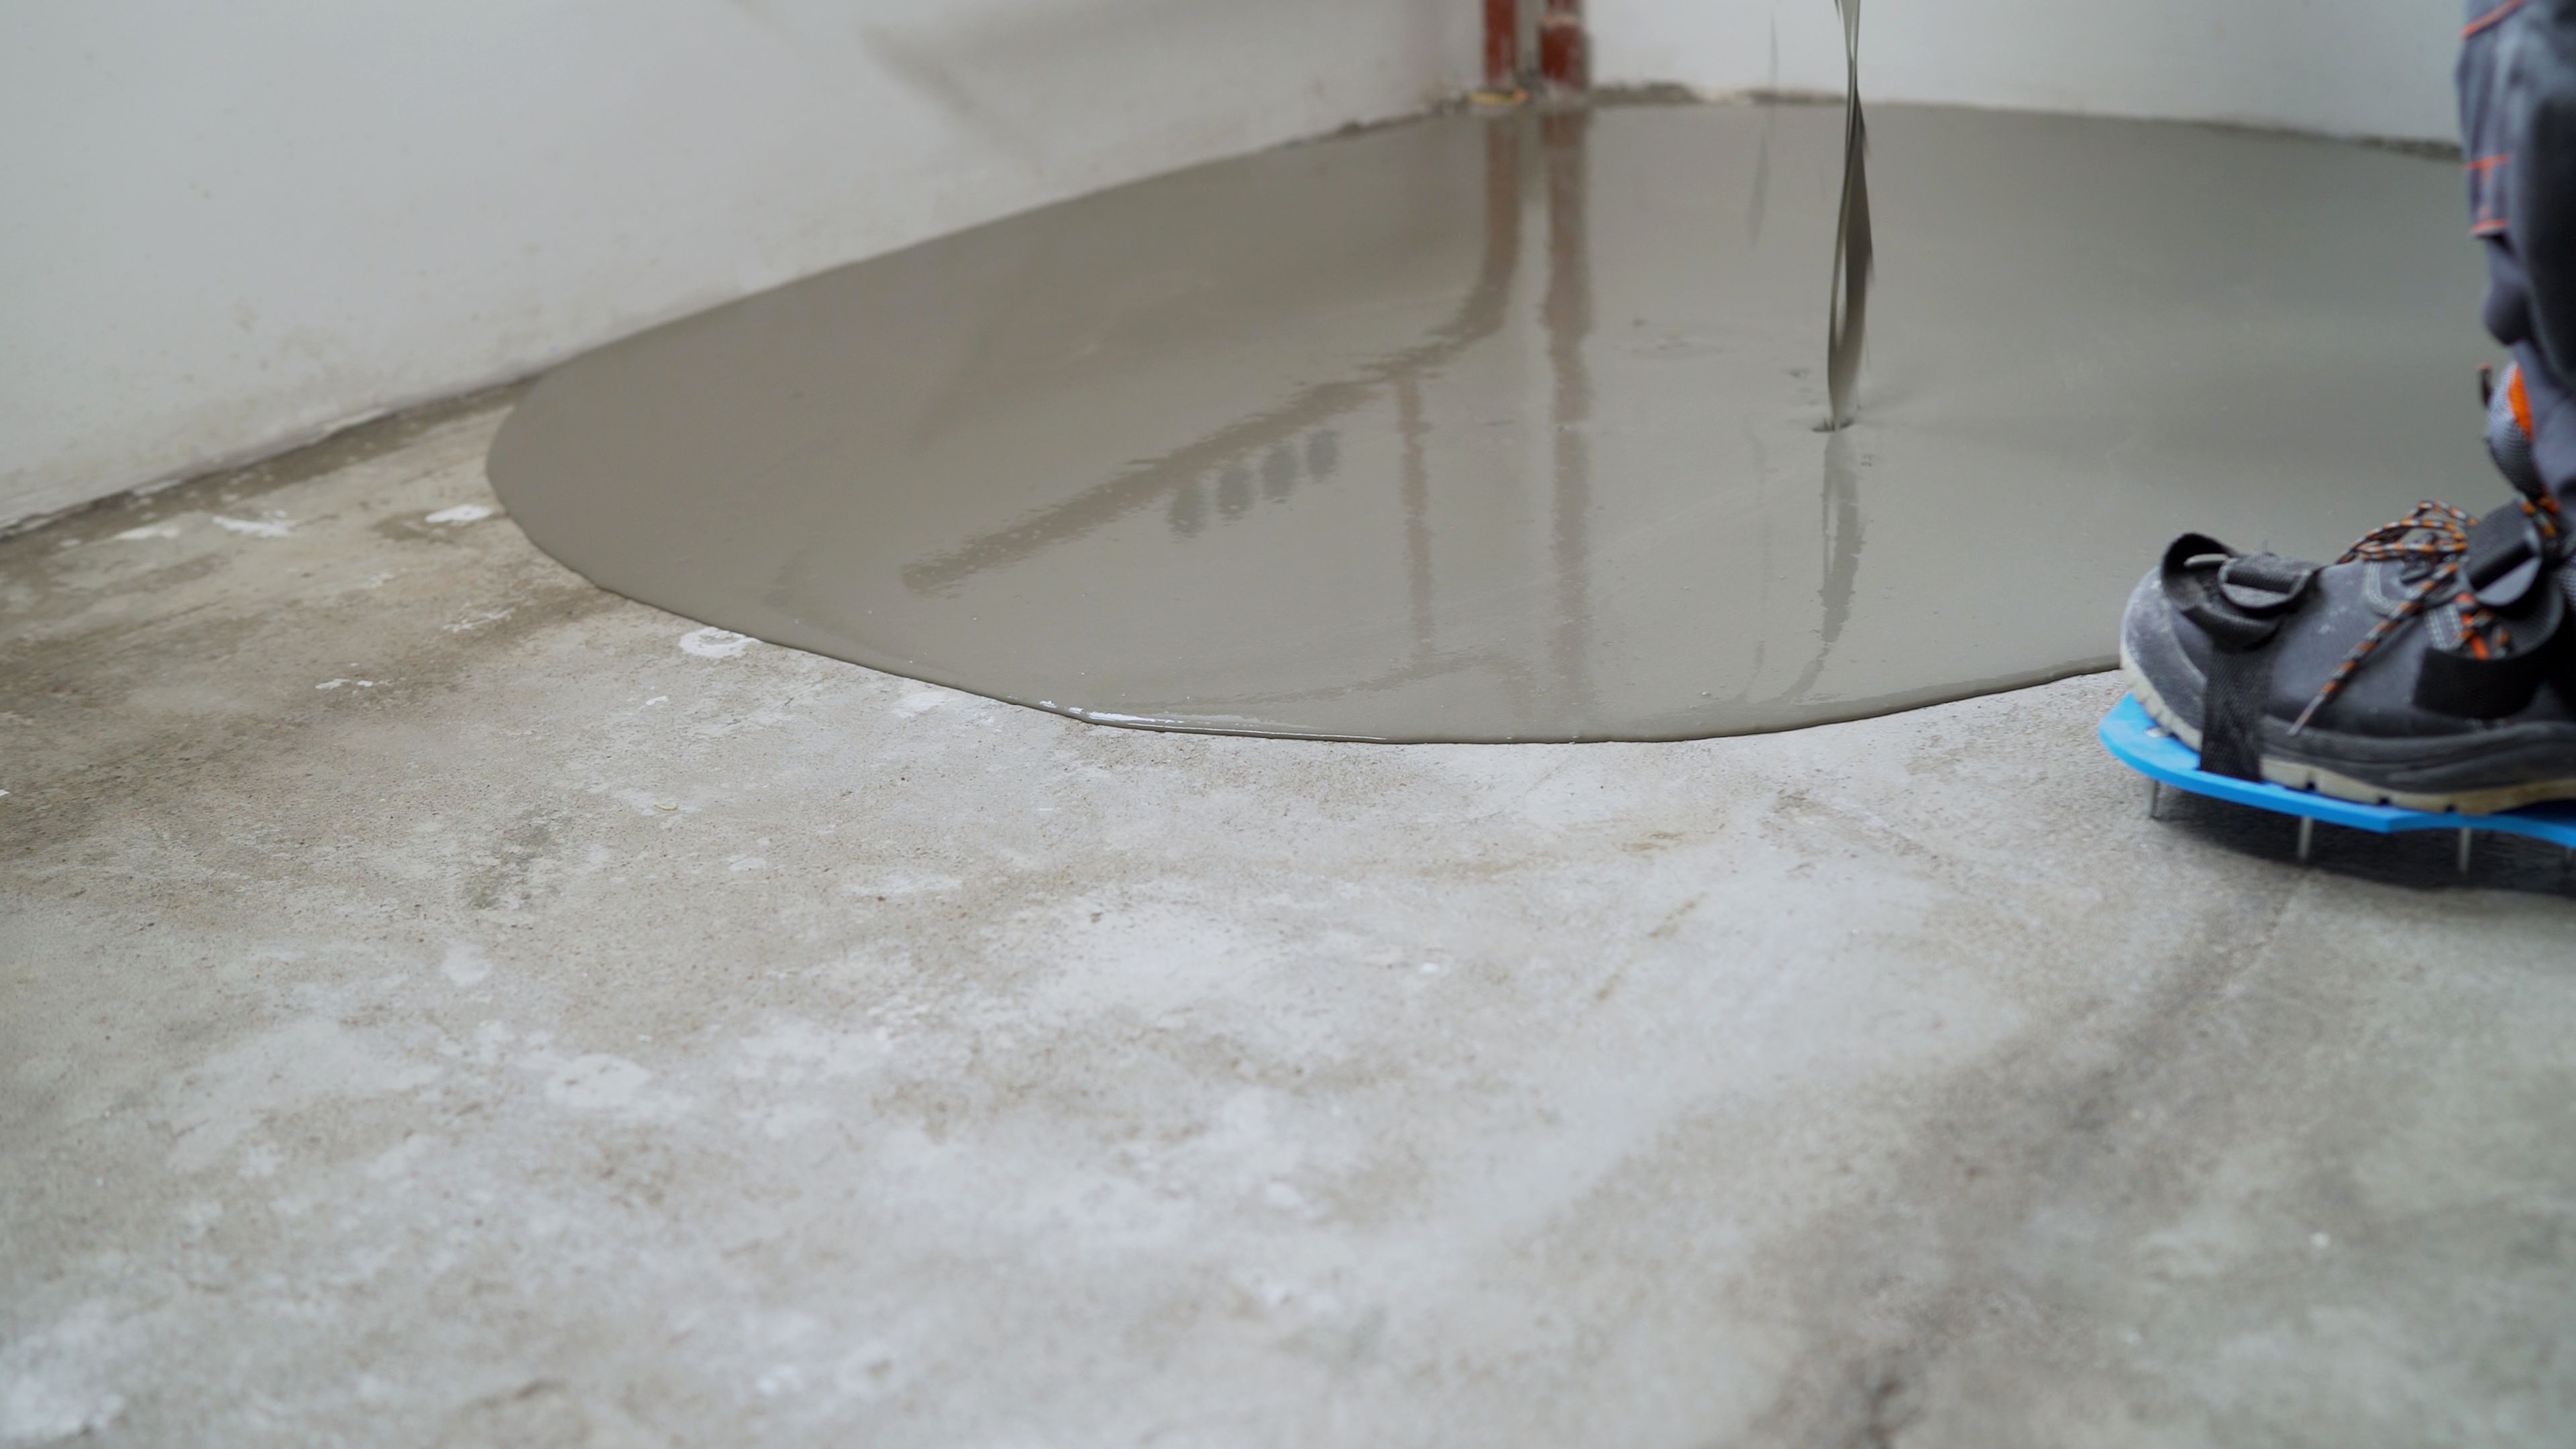
Preparing a surface for treatment is a crucial step in any DIY project. Whether you're painting, staining, or applying a protective coating, the quality of your preparation will directly impact the final result. By dedicating time to proper surface preparation, you can ensure a smooth, durable, and aesthetically pleasing finish.
Surface treatment involves several steps, including cleaning, repairing, sanding, and priming. Each step plays a vital role in ensuring the adhesion and longevity of the applied treatment. Let’s dive into some essential DIY tips to help you master this process.
Cleaning the Surface
Importance of Cleanliness
Before applying any treatment, it is crucial to clean the surface thoroughly. Dirt, grease, and old paint residues can prevent new coatings from adhering properly. Use a mild detergent and water for general cleaning, and consider a degreaser for surfaces with oil or grease buildup.
Tools and Techniques
For effective cleaning, a combination of tools like sponges, scrub brushes, and pressure washers can be used. Always ensure the surface is completely dry before moving on to the next step. This prevents moisture from getting trapped under the new coating, which could lead to peeling or bubbling.

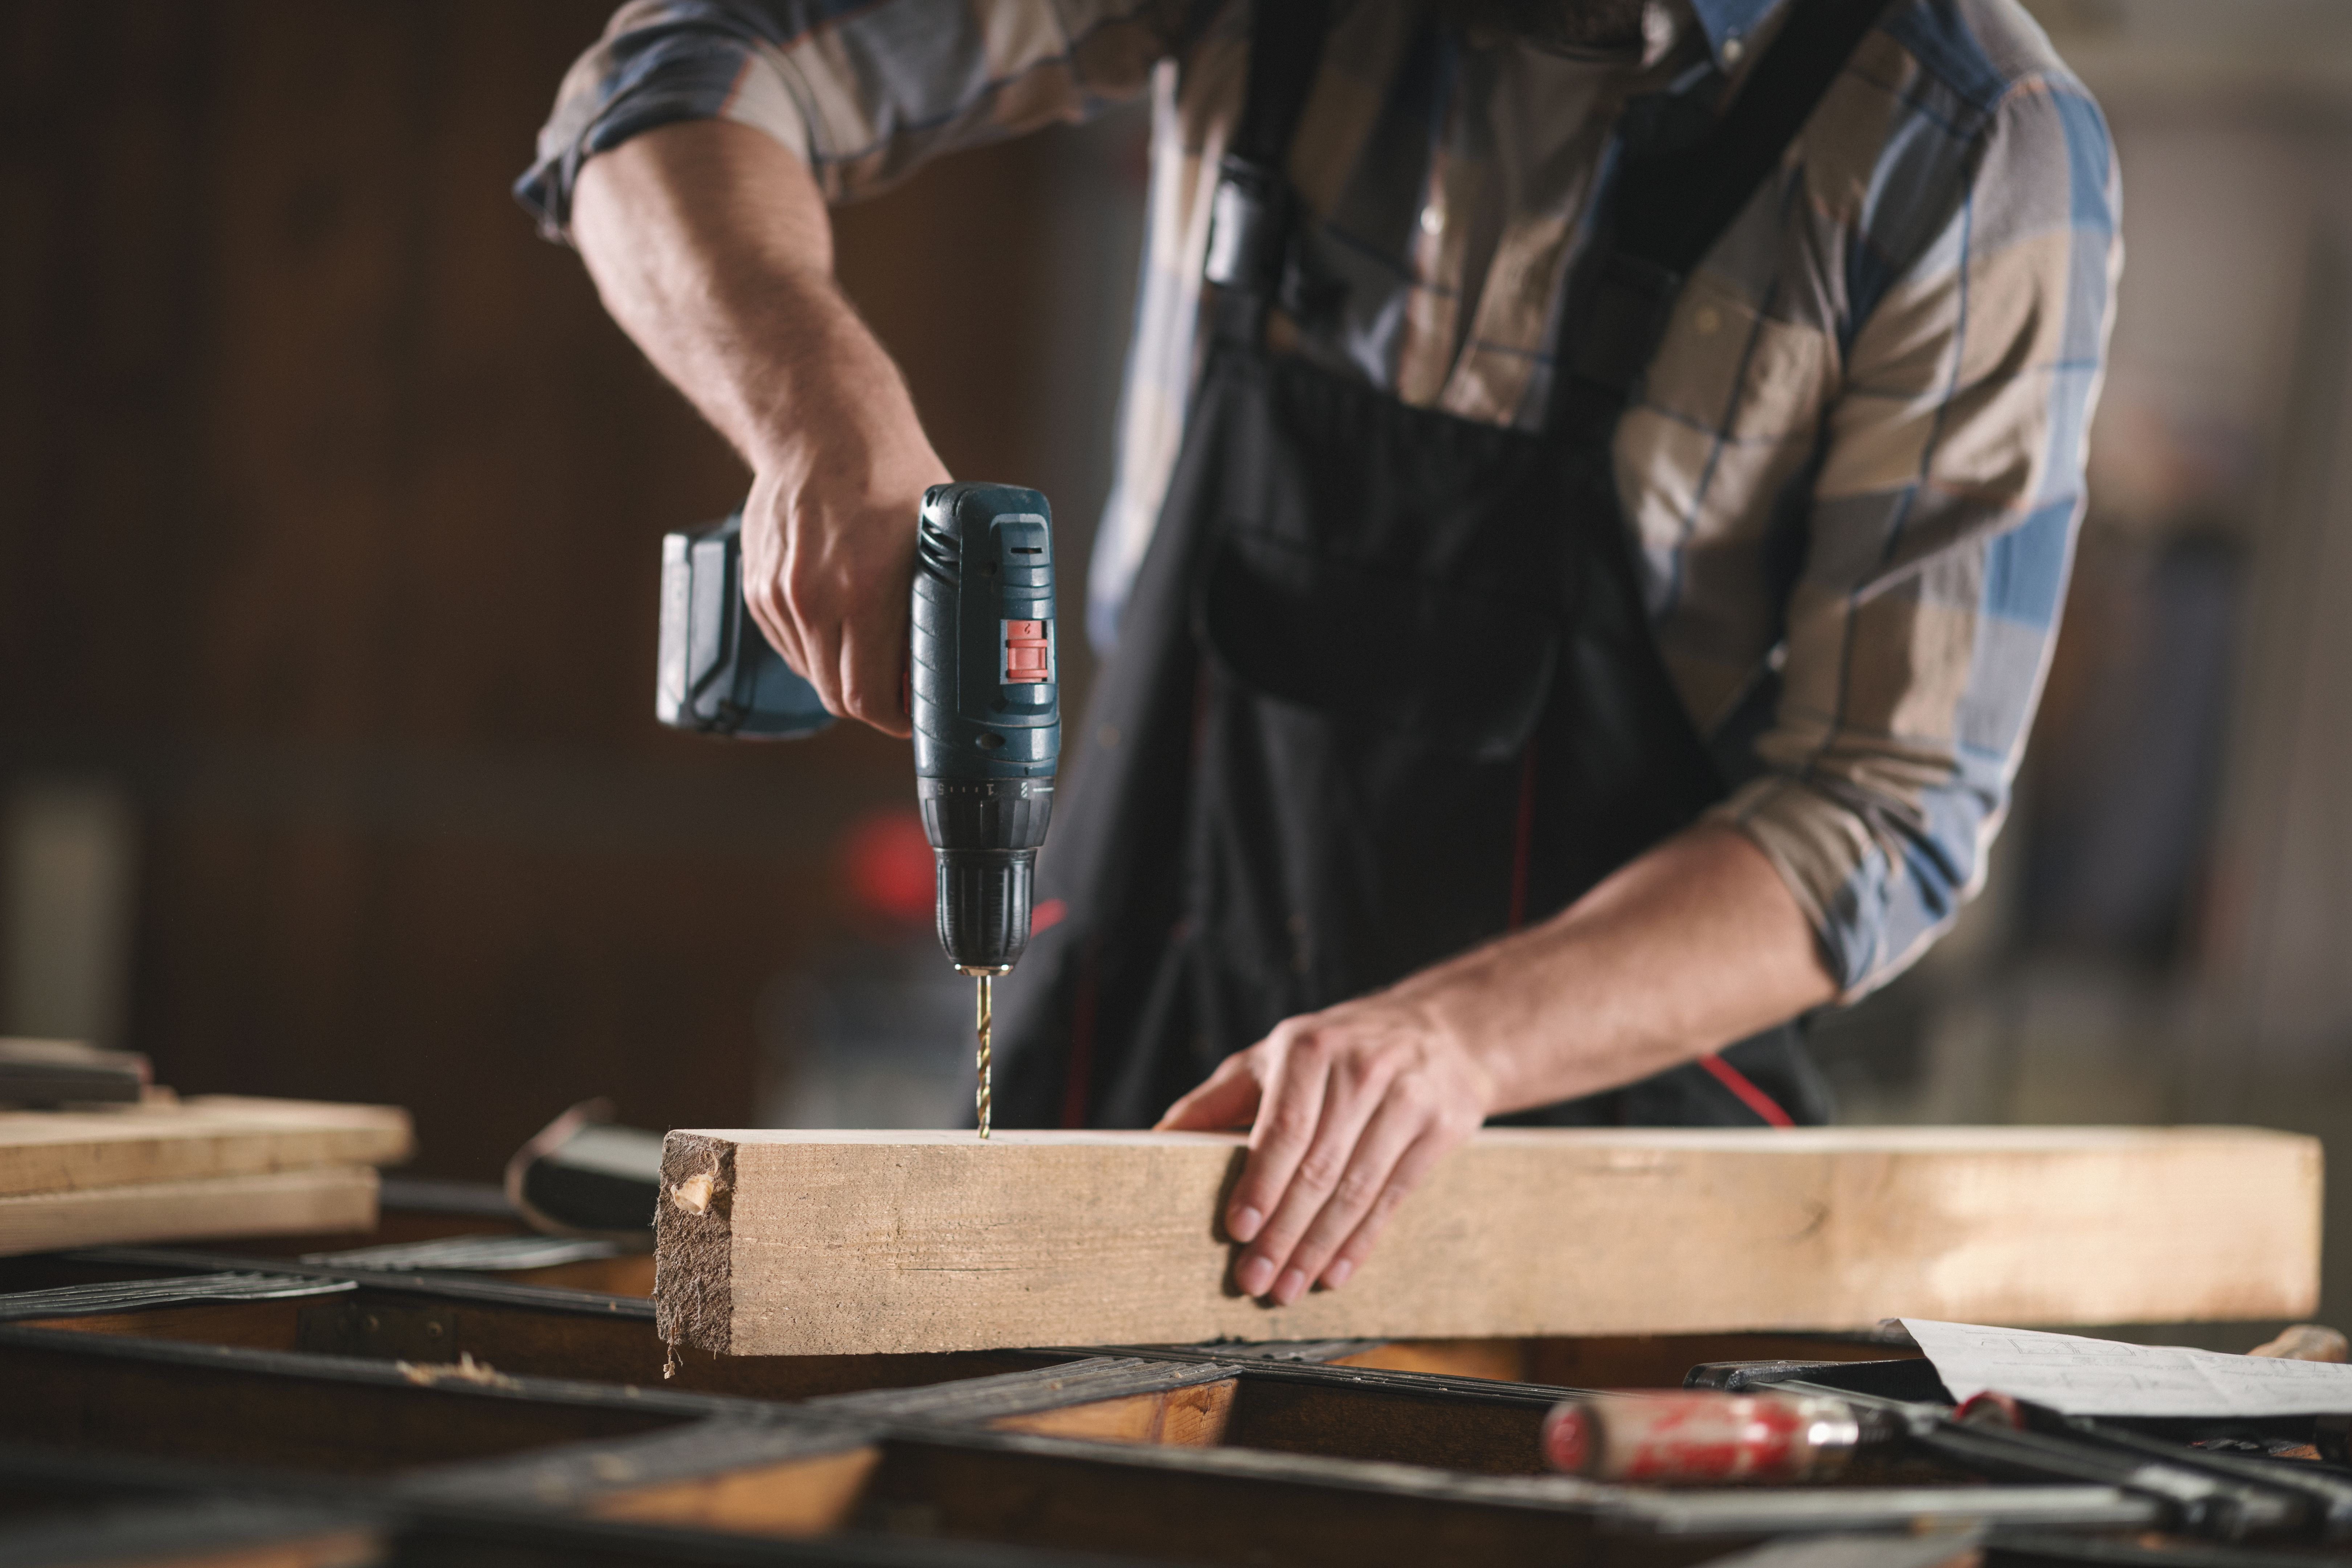
Repairing Imperfections
Identifying Problem Areas
Inspect the surface for cracks, holes, or any other imperfections that might affect the finish. Small imperfections can often be fixed with a suitable filler or putty. Make sure to follow the manufacturer's instructions for application and drying times.
Using the Right Materials
Select a filler that is compatible with the surface material. For example, use wood filler for wooden surfaces and masonry filler for concrete. After applying the filler, sand the area smooth to create an even surface.

Sanding for Smoothness
Choosing the Right Grit
Sanding is essential for creating a smooth surface. Start with a coarse grit sandpaper to remove any old paint or rough areas, then progress to a finer grit to smooth out the surface. Be sure to sand in the direction of the grain if working with wood.
Tools for the Job
Hand sanding blocks or electric sanders can be used depending on the size of the area. Always wear protective gear such as masks and goggles to protect yourself from dust. After sanding, clean the surface again to remove dust particles.
Priming the Surface
Why Priming Matters
Priming creates a uniform surface that enhances the adhesion of the final coat. It also helps to seal porous surfaces and prevents stains from bleeding through. Choose a primer that is specifically formulated for the type of surface you are working with.
Application Tips
Apply the primer evenly using a brush or roller, ensuring full coverage. Allow the primer to dry completely before applying the final treatment. This step is crucial for achieving a professional-looking finish that lasts.
By following these DIY tips, you can achieve a high-quality surface treatment that enhances the beauty and durability of your project. Remember, the key to success is patience and attention to detail at every step of the preparation process.